I use Essential oils as a natural aid for YOGALEAN weight management. My house is full of them as they have a very positive impact on weight management efforts when combined with a healthy diet, yoga, and meditation. I use them in my water, on my skin, and in the bath daily. Essential oils can really help with weight management by helping to make your water more alkaline. It helps melt the fat and help the body carry less toxins. Some essential oils can suppress cravings, increase metabolism, reduce fluid retention, and help alleviate emotional stress and stress eating.
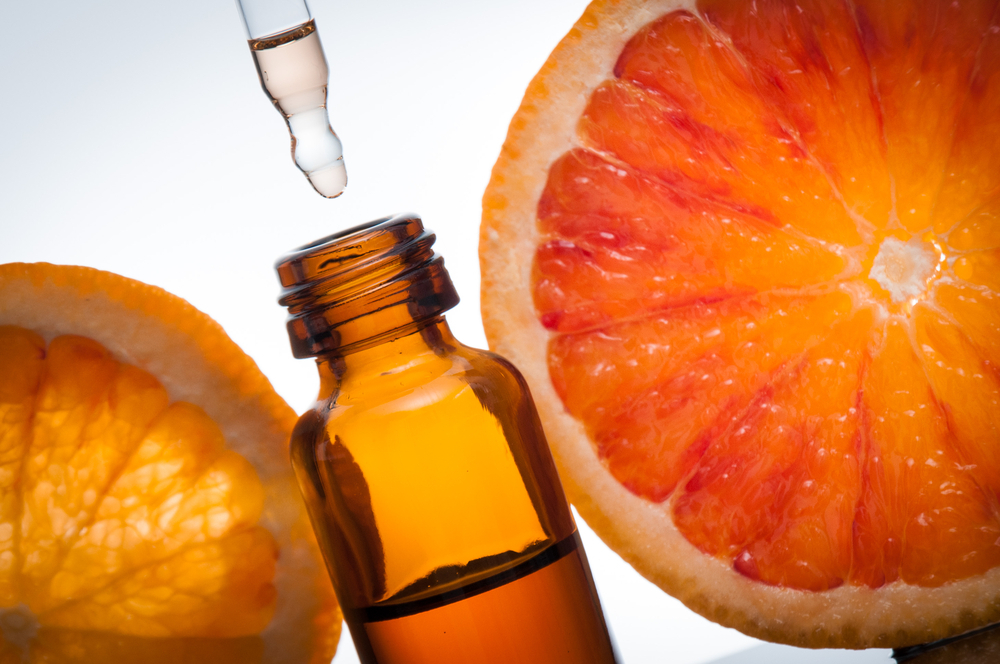
1. Grapefruit
Grapefruit is one of the best essential oils for weight management due to the d-limonene found in grapefruit. It helps in releasing fatty acids into the bloodstream where the body breaks them down and uses it for energy. A study conducted on the protective effects of d-limonene in animals shows that it helps reduce the lipid peroxidation which can help in lowering cholesterol.
It has long been used for various health benefits like metabolism stimulant, lymphatic system detox, and fat burning. It is packed with Vitamin C and the powerful antioxidant Lycopene which helps detoxify and cleanse the lymphatic system. Toxicity in the body creates unwanted weight gain. Our body stores toxins in the excess fat when it does not know how to release it from the body. Citrus oils like grapefruit, lemon and orange essential oils work great to release the toxins from our metabolic pathways. Along with natural weight management properties, grapefruit has antioxidant properties and anti-inflammatory uses.
How to use:
1- Drink it like I do: add 1 to 2 drops of grapefruit essential oil to your daily glass of drinking water to flush out toxins and fat burning effect especially before breakfast in the morning. It also enhances the flavor of water and food.
2- Massage on skin for at least 30 minutes on areas where fat accumulates by adding it into 1 to 2 oz of carrier oil like raw organic virgin coconut oil or extra virgin olive oil. Do not wash off for several hours.
3- Bathe Add 5 drops of grapefruit essential oil to your warm bath
2. Ginger – Craving something sweet?
Ginger essential oil is found to promote a feeling of fullness after meals. It’s like a perfect desert. It works to enhance the effect of all other weight management essential oils. It is also found to be very effective against candida which influences weight gain. It also stimulates the immune system.
Ginger helps increase blood circulation, stimulates the immune system, improves gut health, aids with irritable bowel syndrome, helps with metabolism. Ginger balances moods and provides a sweet treat. Use for my YogaLean Bran Tea Receipe – I do this almost every night.
How to use:
1- Add to to a cup of hot water with lemon and honey as a great desert
2 – Inhale it with a few drops on a cloth
3 – Put a few drops under your pillow to sleep well
4 – Use for improved balance and to prevent sea sickness
3 Peppermint essential Oil:
Peppermint essential oil has unique weight management benefits. It is also great for a huge array of heath issues. Peppermint alone has been known to sooth an upset stomach. Peppermint oil also helps with candida that often influences weight management. Peppermint essential oil is packed with nutrients like omega-3 fatty acids, vitamin C, and minerals like potassium, iron, and magnesium. Helps with weight management and nourishes the body and promotes a feeling of well-being. It is great for reducing appetite and helps suppress cravings. We feel full because of a special mechanism in our brain. Peppermint works on that part of the brain which then triggers the feeling of fullness when you eat. It is found to be more effective than any other scent in creating serotonin in the brain that is linked with cravings for sweets. A study on the effects of peppermint scent on appetite control confirms that participants inhaling peppermint essential oil were less likely to feel hungry and had fewer cravings than the ones who didn’t inhale peppermint essential oil. The Smell & Taste Treatment and Research Institute of Chicago found that inhaling lemon and peppermint essential oil is a more natural and effective way to control appetite to help with weight management.
How to use:
1- INHALE – Peppermint essential oil smells refreshing use before meals to reduce the appetite. Put it in your ears to wake up like I do — be careful
2- Drink it Peppermint tastes great and gives an extra little energy as an added benefit so you can even add 1 to 2 drops of oil to your glass of water and drink before the meals to have the same effect of reducing appetite.
3- Bathing – add few drops to your bath in the morning to suppress cravings and have energizing start of the day.
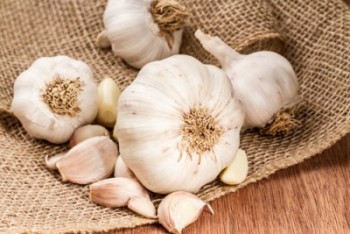
4 . Lemon Essential Oil:
Fresh and clean – wake up with Lemon Oil. It contains d–Limonene and full of minerals and vitamin C. Lemon essential oil is great for addressing intestinal parasites that are often a secret cause of weight gain. It helps in weight management by dealing with various digestive ailments, balancing your metabolism and increasing energy levels. It helps the body to carry less toxins which it stores in the fat cells for no good reason.
The Smell & Taste Treatment and Research Institute of Chicago found that inhaling lemon and peppermint essential oil scent is more natural and effective way to control appetite to help with weight management.
How to use:
1- Daily rubbing and massaging lemon essential oil to the cellulite areas helps to eliminate toxins and waste that are stored in the fat cells. Ridding the body of these toxins will make it thinner and healthier as well.
2- Adding 1 to 2 drops of lemon essential oil in the drinking water before breakfast will have a gentle detoxifying effect on the body.
3- You can also inhale or diffuse lemon essential oil before meals.
5. Bergamot Essential Oil:
Feel better now – Helps control bad cholesterol and stress eating- This oil it is perfect for those who eat when they are stressed. Sedative properties of bergamot essential oil make it perfect for fighting with stress related weight gain and controlling stress triggered eating. It can be more effective if you pair it with lavender essential oil.This oil is very effective in weight control because it contains extremely large amounts of the polyphenols (that are also found in green tea). This polyphenols content is great for fat oxidation (halt production of blood fat), increasing metabolism and preventing the absorption of cholesterol.
How to use:
1- inhale the vapors to calm and relax when you are stressed out and hungry
2- You can also put a drop into one teaspoon of honey or drink in a 4oz of coconut milk to have more calming effect.
3- It can also be used for applied or massaged to the feet or on the neck adding it in the carrier oil like extra virgin olive oil or coconut oil.
4- Bathe – It can also be diluted in a warm bath to feel fresh
6. Cinnamon essential oil:
A sweet treat. Cinnamon essential oil is found to promote a feeling of fullness after meals. It works to enhance the effect of all other weight management essential oils. It is also found to be very effective against candida which influences weight gain. Cinnamon is also known for its anti-inflammatory uses and it stimulates the immune system, and may even help with increased libido. Cinnamon helps increase blood circulation, stimulates the immune system, improves gut health and irritable bowel syndrome and metabolism.
How to use:
1- Drink few drops of cinnamon essential oil combining it with honey in one cup of warm water before breakfast and at night before sleeping.
2- Inhale or diffuse cinnamon essential oil before meals or try adding 1 to 2 drops of oil to drinking water and take before half or one hour before meals to help with appetite.
7. Eucalyptus Oil
Want energy? Tired and stress eating? This great oil wakes you up. It helps overcoming negative feelings and behavior so that you no longer feel tempted to eat more to deal with stress.
How to use:
1- Diffuse it and inhale the vapors by diluting it a diffuser for a fresh home
2- Apply it directly on the stomach or to the feet.
3- Add 1 or 2 drops in your water

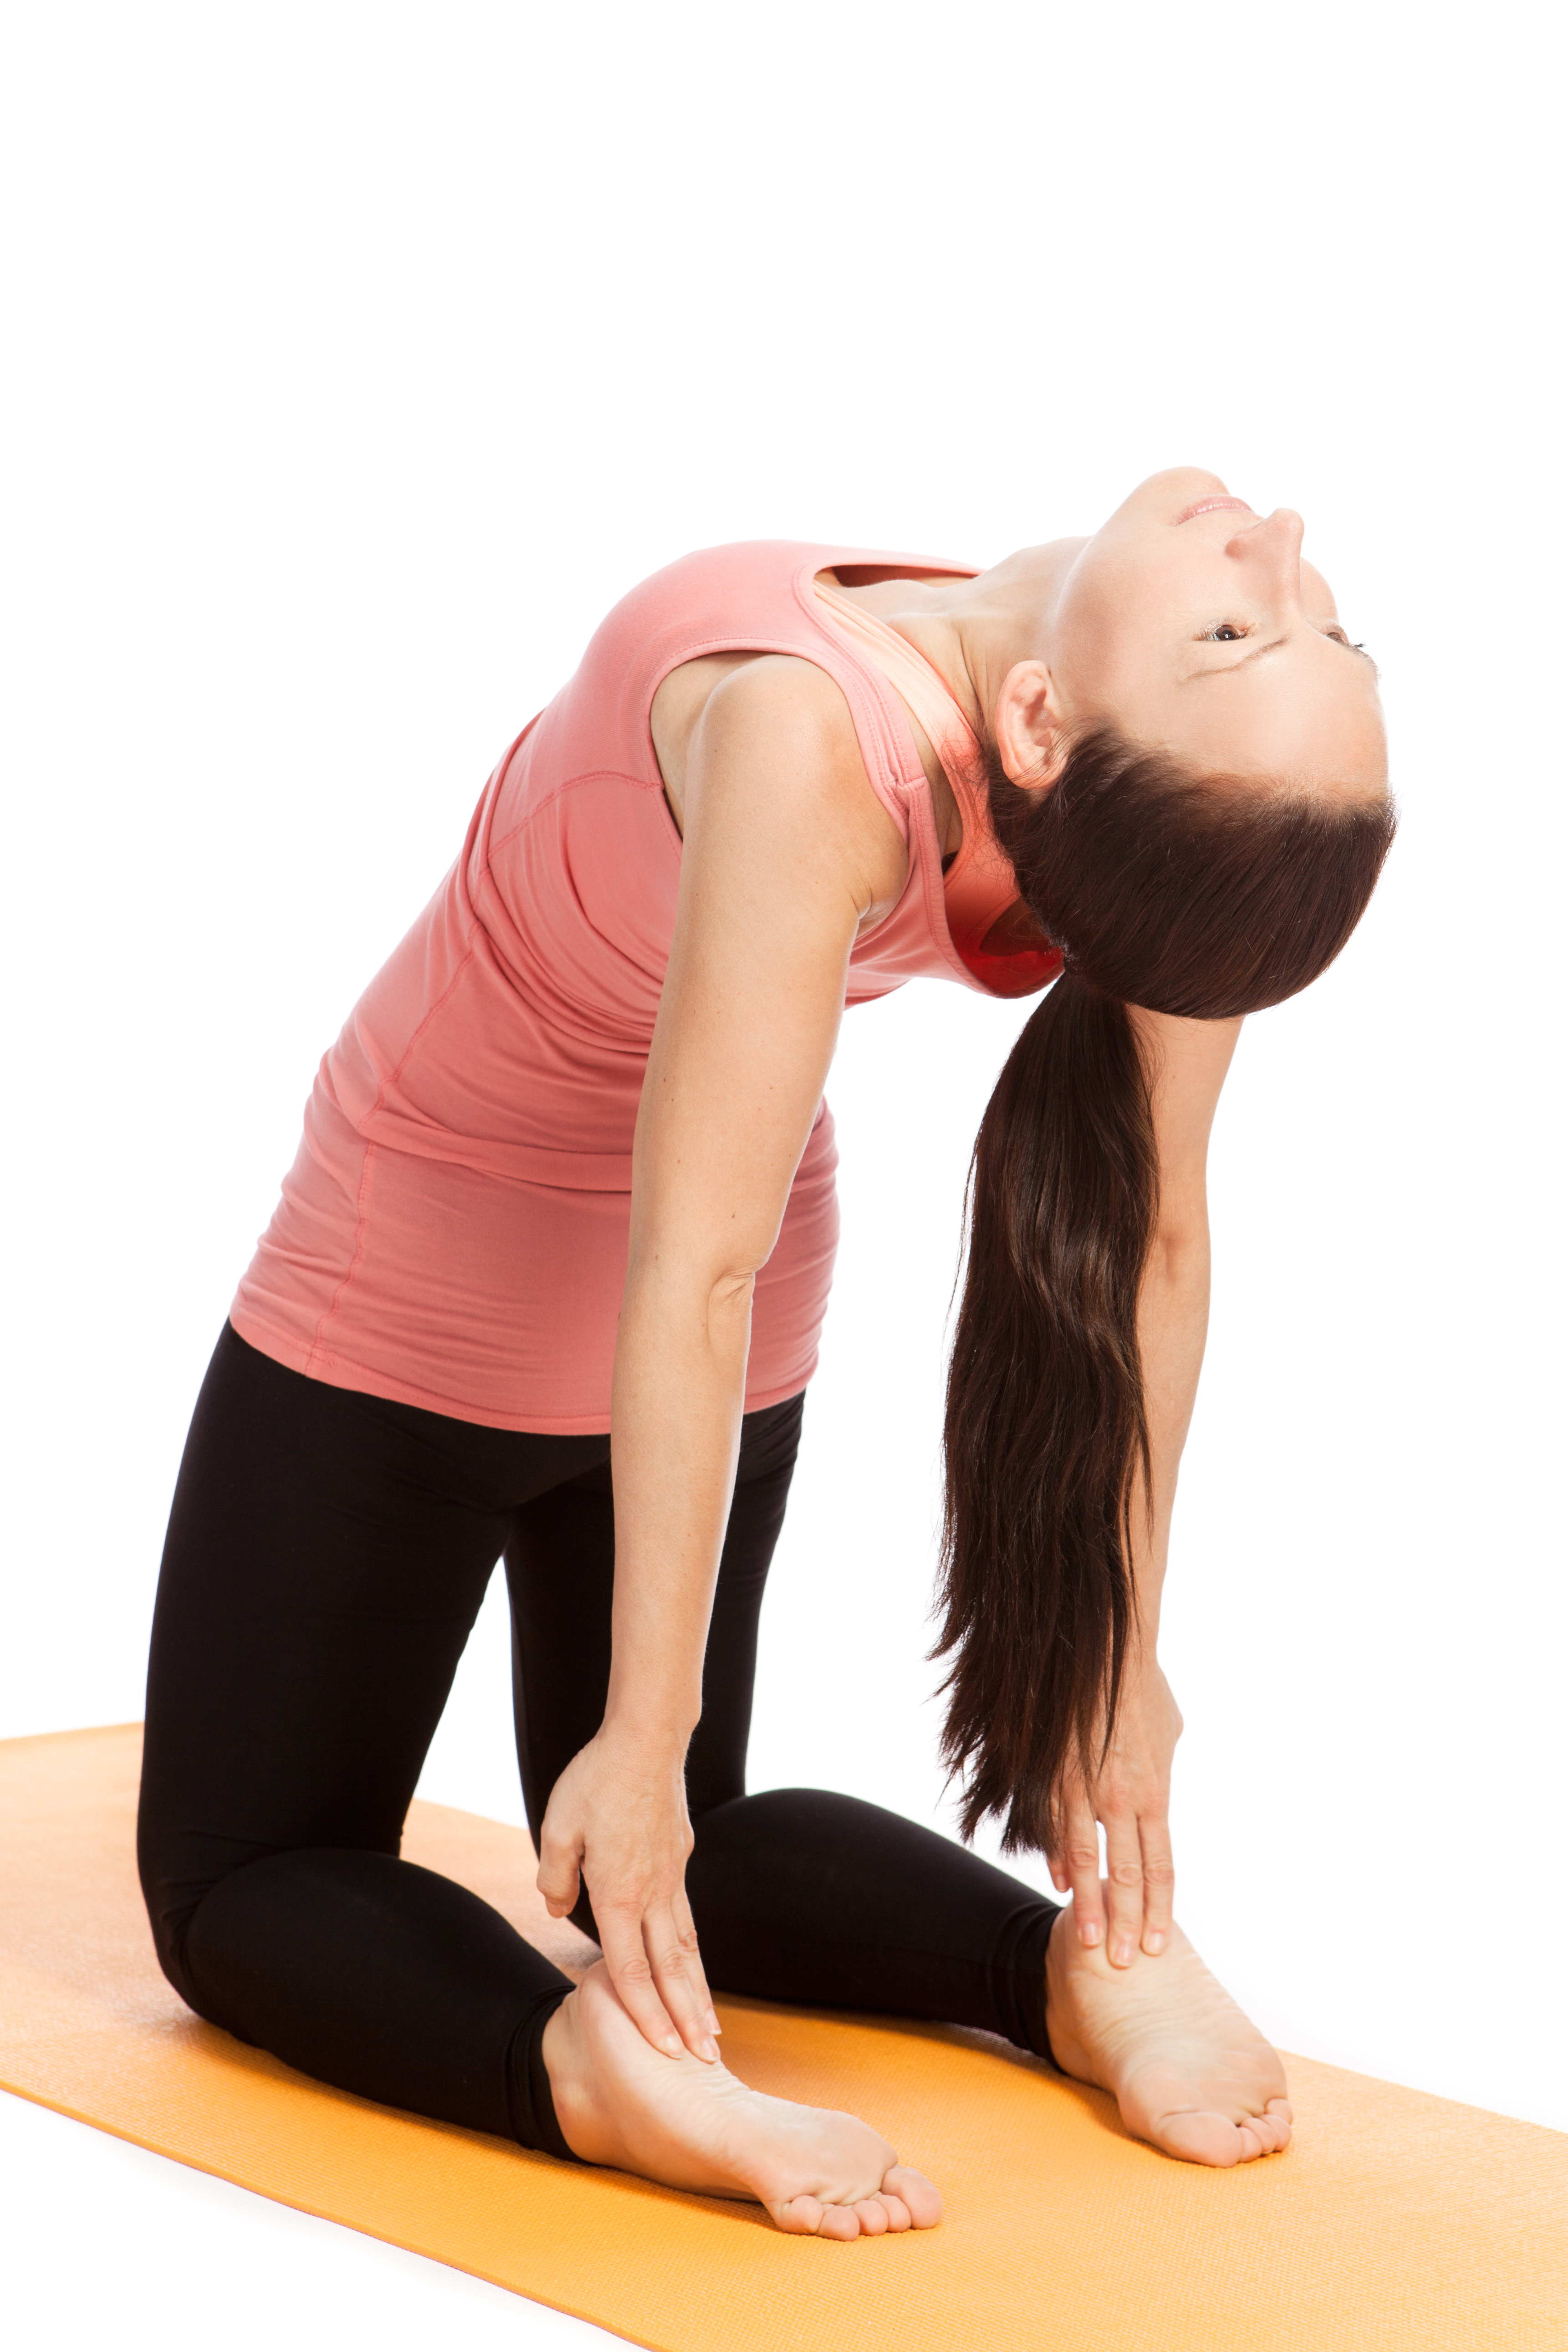
 This informative workshop gives instructors the tools to create inspiring vinyasa yoga classes that are founded on flow yet grounded in the safety of exercise science. The learning includes physical execution, transitions, and modifications to traditional yoga poses with an emphasis on effectiveness and safety. Dynamic vinyasa sequencing, flowing class formats, and transformative language for communicating the mind/body connection have made this the most popular vinyasa yoga style in the world today. No prerequisites required.
 In YOGALEAN: Poses and Recipes to Promote Weight Loss and Vitality-for Life!, Beth Shaw shows readers both how to achieve and maintain their optimum weight by developing a “Lean Consciousness.” Her book offers an easy-to-follow and inspiring holistic lifestyle program, featuring: fully illustrated yoga poses for strength and confidence, cardio and weight-training workouts that complement yoga, easy gluten-free recipes, daily meditations, breathing exercises, and more.


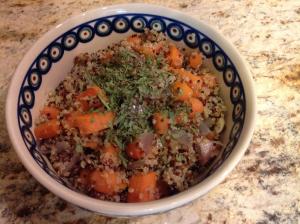
 Step 2: Pasta Sauce
 My name is Rene’ MacVay and I am an E-RYT 200 (RYT 500 should be done in 2015). During the day I teach high school English, Speech, and AP Art History and in the afternoons and evenings I teach yoga, pilates, and personal train. My hobbies include reading and cooking. I love reading as I either gain knowledge or am transported to another time and place! I love cooking for the artistry and the creativity it allows me to express.